Left Chest Logo Placement Guidelines From A California Embroiderer

Written By
Anna Freeman
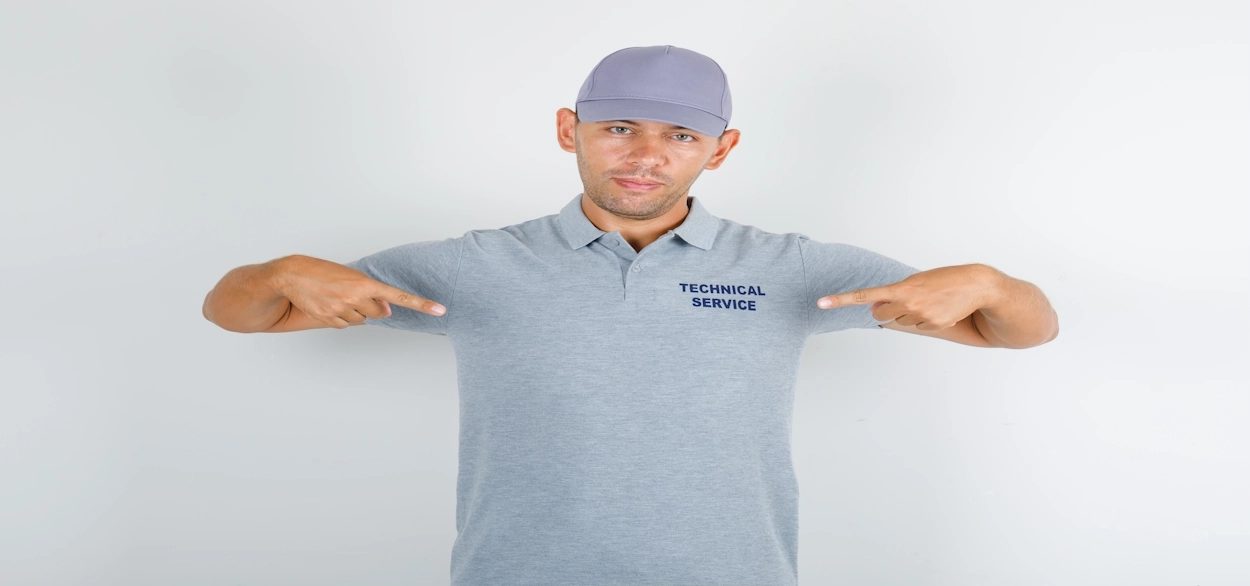
If you want a brand logo to look and feel the best on company polos or shirts, a left chest logo is your go-to option.
But left chest logos aren’t so simple to place. Bad embroidery work can make these logos either too small, too big, or too close to the arm.
These are small mistakes that beginner embroiderers and hobbyists make. But they end up making your custom embroidered logo less appealing and look more like cheap, bulk-manufactured apparel.
Correct left chest logo placement depends on a lot of things like the logo’s shape and size, type of apparel, and whether you are embroidering or printing your logo.
I am Anna Freeman, and at Five Star Apparel, I have been doing exactly this. And in this blog, I have explained everything that it takes to place a left chest logo right.
So, let’s get into it.
Key takeaways
- A left chest logo for an adult shirt should be 3-4 inches wide to begin with.
- Logo shape, lettering, and garment size can all change the logo dimensions.
- Polos, T-shirts, hoodies, and jackets all need different logo placement adjustments.
- You should check the logo design on the actual garment or a realistic mockup of how the logo will look like before production.
What is left chest logo placement?
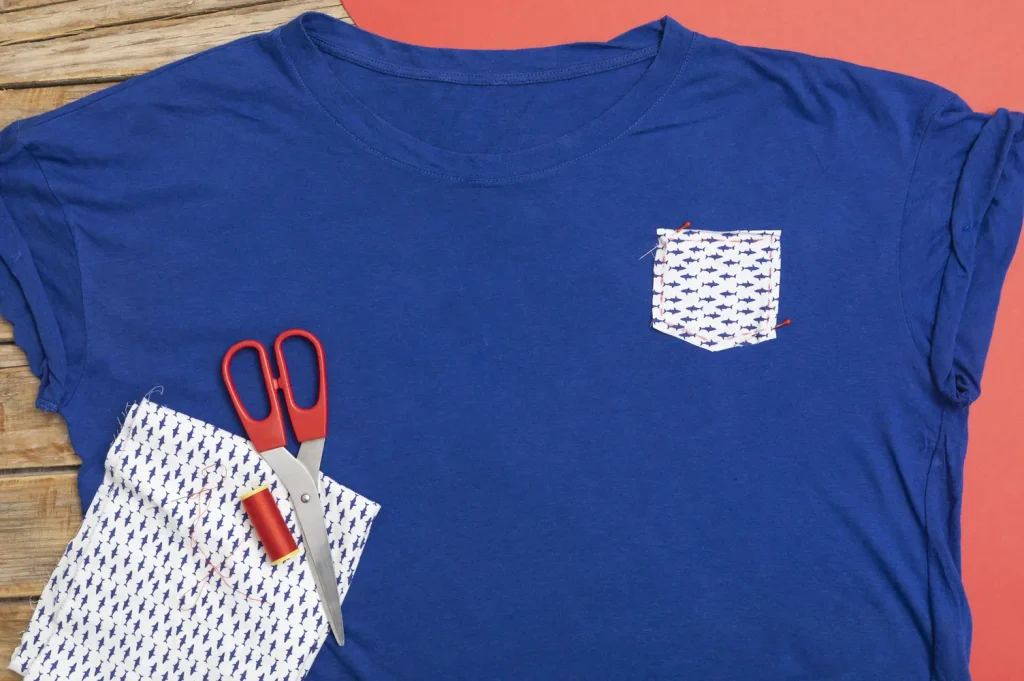
Left chest logo placement is simply stitching a logo on the left side of a shirt, polo, jacket, or hoodie. Here, the logo is placed on the left side of the apparel’s upper chest area.
Left chest logos are the go-to choices for company uniform shirts and polos, other team apparel with company logo, workwear, and polos with embroidered branding.
Unlike letterman jacket patch placement where big patches go on the center of the jacket, a left chest logo is kept intentionally small in order for an understated look. It is how your employees, teammates, and even clients or customers you gift the apparel to, display your brand in a clean, simple, and subtle way.
The overall idea here is to make your logo such that people instantly recognize it, while also keeping it in balance with the shirt or polo’s shape.
What is the ideal left chest logo size?
The ideal left chest logo size for most of the adult shirts out there is 3-4 inches wide. This is the standard logo size most companies that order embroidered or printed logos from 5 Star Apparel choose.
So, if this is your first order of custom shirt logo, I suggest you choose a logo around 3.5 inches wide as the safest option.
But this is not a standalone size that everyone necessarily needs to choose. You should choose the size of your logo based on the logo design and the garment on which you are stitching it.
Here’s how you should decide the ideal logo size on shirt
| Type of logo | Starting point for size |
| Standard adult shirt logo | 3-4 inches wide |
| Small symbol or simple icon | Smaller size, ideally 3 inches or less |
| Wide company name | Might need more width, over 4 inches, to remain readable |
| Tall or square logo | 3-4 inches of width is fine, but do check the height so it doesn’t overwhelm the chest |
| Youth or small-size shirt | Consider scaling the logo down to 2 inches of width |
Note: These logo sizes are general guidelines, not fixed dimensions. Do consult with your logo maker before you finalize a size.
Not sure what logo size you need for your company apparel?
You can get in touch with us!
Our team will get back to you with a custom left chest logo size and placement guide along with the estimated cost of embroidering the logo on your apparel.
Where should left chest logo placement be done?
Although the ideal spot for the logo differs for different garments, you can use the collar, shoulder seam, and center front as important reference points for logo placement.
A good way to measure is from the collar or shoulder seam, But these measurements can differ depending on the starting point and whether they refer to the top or center of the logo design.
Here’s where left chest embroidery placement should be ideally done:
| Logo placement detail | What to do |
| Logo width | Start with a width of about 3-4 inches for adult shirts |
| Vertical position | Use the collar and shoulder area as reference points; and check where the logo sits relative to the armhole |
| Horizontal position | Keep the design on the left chest, but at a comfortable distance from the center placket and armpit |
| Final check | Check how the logo looks like on the garment before stitching |
Embroiderer’s tip: If you want your logos to look sharp and precise on every apparel, stay consistent with logo placement. Each of the logo placement should be precisely at the same spot, and they should begin and end at the same place.
Not to mention, you also need to think beyond just numbers and about how the logo will look and feel when the apparel is worn. That’s because your final logo placement should be sharp and balanced when people wear the apparel.
How to position a left chest logo correctly?
Correct left chest T shirt logo placement begins much before the logo is stitched. Here, you need to check the placement first using a template and see how the logo will actually look like. This helps you avoid making a faulty logo, or one what is way below the upper chest or too close to the arm.
Overall, here’s what you can do to position your logo correctly:
- Lay the garment flat: Smooth out any wrinkles on the garment so you can see the collar, shoulder seam, and chest area.
- Find your reference points: Use the collar and shoulder area to pinpoint where your logo will be placed. Then, measure consistently from these same points.
- Consider the logo’s shape: if your logo has a wide wordmark, it will need a different position than a logo with a compact symbol which simply needs to look balanced.
- Make a paper template. Paper template making for embroidered logos is simple. Just cut a paper to your logo’s approximate dimensions and put it on the shirt to check logo size and position.
- Check the garment when worn: If you can, check how the paper template placement looks on someone actually wearing the shirt. That’s because the logo can look different on a flat surface and different when the garment’s fabric wraps around someone’s body.
- Confirm logo placement before production. Check the logo’s size and placement one final time before it is stitched onto the garment and confirm everything. This goes especially for large orders or garments that have unusual cuts.
Left chest logo placement by garment type
Even though the left chest logo size and placement guidelines I shared above are standardized from the logo orders we get at 5 Star Apparel, different garments need different measurements. For instance, a shirt will need a different logo measurement than a jacket.
Here’s how the placement differs for different garments:
A. Polo shirts
For polo logo placement, you should check the collar, button placket, and any chest pocket. Your logo should look balanced beside the placket without touching the buttons or crowding the collar.
B. T-shirts
T-shirt logo placement depends on the shirt’s fit and neckline. I suggest you check the shoulder width and armhole so the logo doesn’t look too close to the sleeve or too low on the chest.
C. Button-down shirts
For shirt logo placement, you should check the pocket, seams, and button line before stitching the logo. And if your shirt has a chest pocket, decide whether the logo will sit above the pocket or elsewhere.
D. Hoodies and jackets
Zippers, drawstrings, pockets, and thicker seams all limit where a logo fits on hoodies and jackets. So my advice is that you check these features before choosing the final position for logo placement.
Some common left chest logo placement mistakes you should avoid
- Placing the logo too low: This can make the logo design look disconnected from the upper chest.
- Moving the logo too close to the arm: This can make the logo look crowded or partially wrap around the garment.
- Making the logo too large: The logo design might look fine on the computer screen, but it can overwhelm the chest area.
- Using the same dimensions for every size: Smaller garments will need a smaller logo size (less than 3 inches) or adjusted placement.
- Skipping the final preview: A digital mockup on the computer helps, but checking the actual garment using a paper template helps find issues that aren’t obvious on the screen.
FAQs about left chest logo placement
What is the standard left chest logo size?
For most adult shirts, a width of 3-4 inches is the standard logo. But the ideal size for your logo will depend on the logo’s shape, detail, and your garment.
How far down should a left chest logo be placed?
There isn’t one measurement that works for every shirt. You should use the collar and shoulder area as reference points. Also, check the starting point and see whether it refers to the top or center of the logo design.
Where should a logo go on a polo shirt?
The best spot for a logo on a polo is the wearer’s left chest, positioned to look balanced beside the collar and button placket.
Should every shirt use the same logo size?
Not really. You will need to scale the design for youth sizes, smaller garments, or different logo shapes.
Are embroidery and print placement guides the same?
Not exactly. The general position can be similar, but embroidery has stitch and detail limitations that can affect the final design.
To Sum Up
I am sure that, at this point, you have a decadent idea about left chest logo placement, including ideal logo width and where exactly it should go on the garment.
Lastly, my tip is that you begin with a logo size that looks sharp yet balanced. It should be something that doesn’t overwhelm the garment, yet lets everybody clearly recognize the company or business. Also, stay consistent with the logo measurement and do a final check using a paper template before stitching the logo onto your polo or shirt.
Got more questions or want to get your logo embroidered neatly onto company shirts or polos?
You can get in touch with us!
At 5 Star Apparel, we are seasoned Northern California embroiderers with decades of hands-on expertise embroidering logos for teams, companies with customer-facing staff, worksite employees, and more. Tell us your logo placement requirements and we will get back to you with the ideal logo size and position, along with a clear cost quote for free.
Anna Freeman is the owner of 5 Star Apparel. With over 20 years of industry experience, she brings expert insights on embroidery, screen printing, and branded apparel, helping businesses and organizations bring their ideas to life with confidence and style.