
A Beginner’s Guide On How To Make Custom Patches
Written By
Anna Freeman
Ever saw a stylish patch on a jacket, hat, or backpack and wished you could make something like that?
Well, the good news is, you can.
In fact, making custom patches is easier than you might think. So much so that from embroidered designs to velcro patches and unique designs for your business or personal collection, you can do it all.
In this blog, I will break down everything you need to know about making custom patches. By the end, you’ll know:
- What custom patches are and why they’re popular
- How to make custom patches step-by-step
- Tools and materials you need for custom embroidered patches
- Different types of patches (embroidered, velcro, and more)
- How to apply patches to clothing and hats
- Tips for professional-quality results
So, let’s get started.
What are custom patches?
Custom patches are small pieces of fabric with a design that can be attached to clothing, hats, bags, or other textiles.
You see, unlike regular prints, patches are textured, durable, and can be moved or reused if they have a velcro backing.
Patches have a long history in military uniforms, clubs, and scouts. But today they’re a fashion statement and a brand-building tool.
Here’s why they’re so popular:
- Durability: Patches last longer than screen prints.
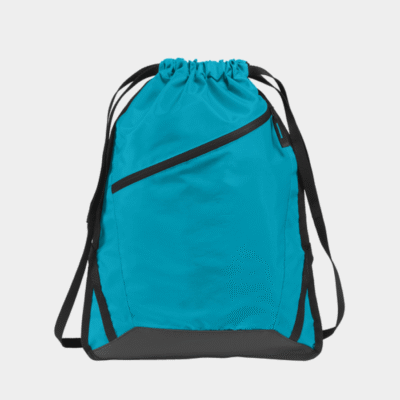
- Versatility: They can go on jackets, backpacks, hats, and even shoes.
- Customization: You can create any logo, design, or text.
- Professional-Look: Even homemade patches can have a polished finish with the right tools.
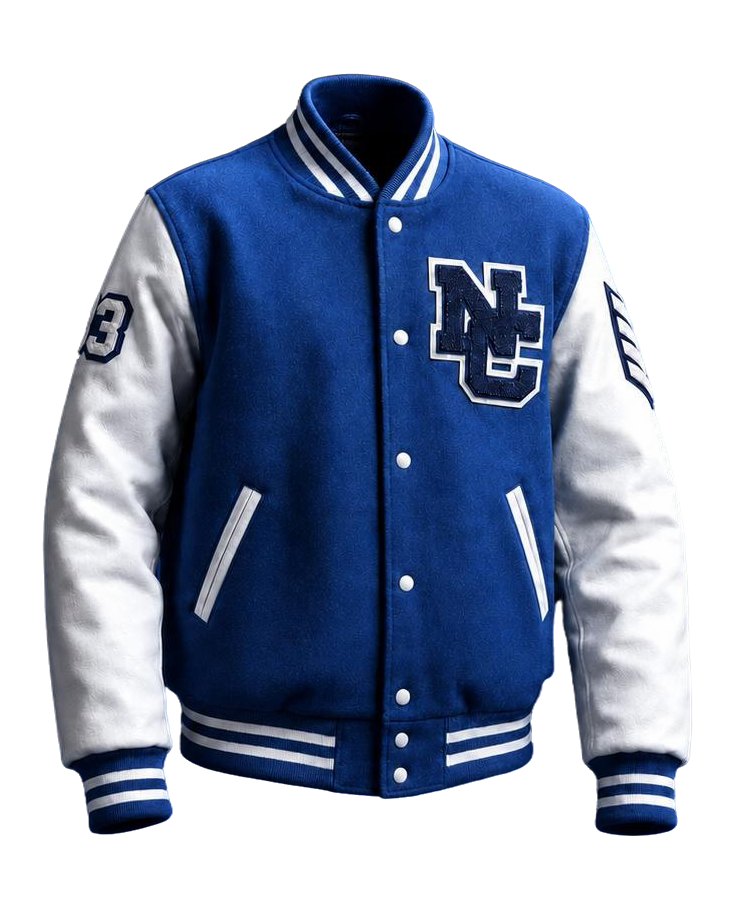
We create high-quality custom letterman jackets for your school, team, business, or organization that leave a lasting impression.
What are the different types of custom patches?
Custom patches come in different styles, just like the different types of embroidery stitches.
Here, each patch type has its own look, feel, and best use, whether you want something classic, colorful, or removable.
Let’s have a quick look at the most popular types of custom patches:
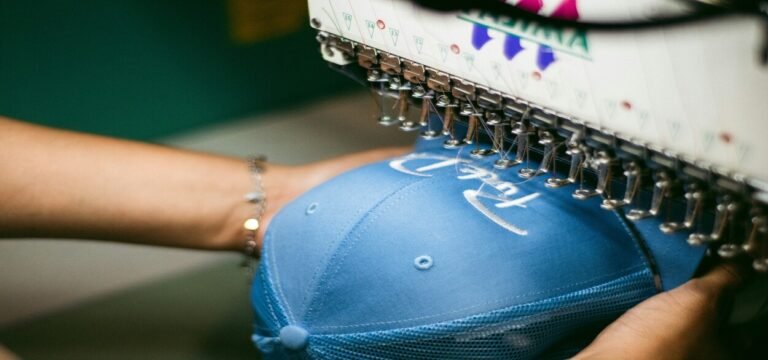
1. Embroidered patches
These patches are made by stitching thread directly onto fabric. And they give a textured, classic look and feel, making them durable and long-lasting.
Embroidered patches are perfect for jackets, bags, and hats, adding a polished, professional touch to any item.
2. Printed patches
Printed patches use ink to apply the design directly onto fabric. This method works well for large, colorful, or highly detailed designs that might be tricky with stitching.
They’re ideal when you want vibrant colors or intricate artwork, and they can give a smooth, eye-catching finish on shirts, jackets, or bags.
3. Velcro patches
Velcro patches come with a hook-and-loop backing, so they can be attached, removed, and swapped easily. This makes them popular for uniforms, tactical gear, or event badges where flexibility is essential.
You can quickly change designs without sewing, making them both practical and versatile for everyday or professional use.
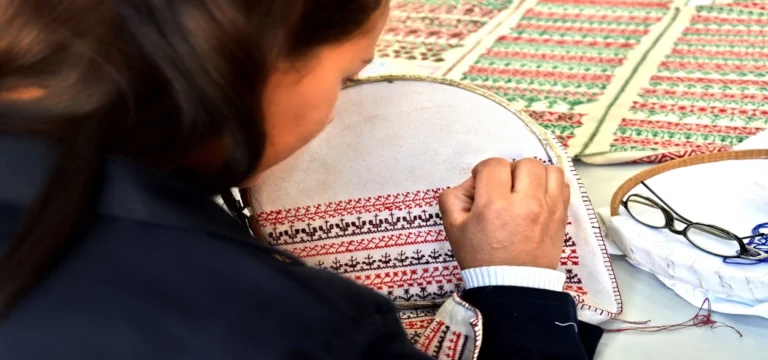
4. Woven patches
Woven patches are made by weaving threads tightly together, which allows for detailed designs, small text, or intricate logos. They have a smooth, fabric-like feel and are often smaller in size.
These patches are perfect if you want a refined, subtle look with fine details that embroidery can’t easily achieve.
5. PVC or rubber patches
PVC or rubber patches are made from soft, flexible materials that create a 3D-like effect. They’re waterproof, durable, and can handle rough use, making them ideal for hats, backpacks, or sports gear.
These patches are perfect if you want a modern, bold look that stands out and lasts through wear and tear.
In short, here are the different types of custom patches:
| Patch Type | Description | Best For |
| Embroidered Patches | Made with thread stitched onto fabric | Jackets, bags, hats |
| Printed Patches | Designs printed directly onto fabric | Large designs, complex colors |
| Velcro Patches | Can be attached and removed easily | Uniforms, tactical gear, event badges |
| Woven Patches | Thread woven tightly for detailed designs | Fine logos, small text |
| PVC or Rubber Patches | Soft, 3D-like material | Hats, backpacks, sports gear |
How to make custom patches? 7 Easy steps you can follow
Making custom patches might sound complicated, or something meant only for pros. But in reality, it is quite straightforward.
I have broken down the process of how to make custom patches into small steps.
Whether you’re a beginner or running a small business, these steps should make creating custom patch creation manageable for you.
Let’s have a look.
1. Design your patch
The first step is picking a design, and it’s the most fun part.
This step is all about visualizing the size, shape, and colors of your patch. Circles, squares, rectangles, or custom outlines all work.
You can use software like Photoshop, Illustrator, CorelDRAW, or Canva to create your design.
And if you are a beginner, I suggest you start with templates and keep details simple at first, as too many tiny elements can get lost in embroidery.
2. Choose patch type and backing
Next, decide the type of patch and backing you want.
Embroidered patches are classic and durable, printed patches are vibrant and detailed, and velcro patches are removable.
Backings affect how your patch attaches: iron-on for easy DIY, sew-on for durability, and adhesive for short-term crafts.
Here, choosing the right type is essential to ensure your patch works perfectly for your project and material.
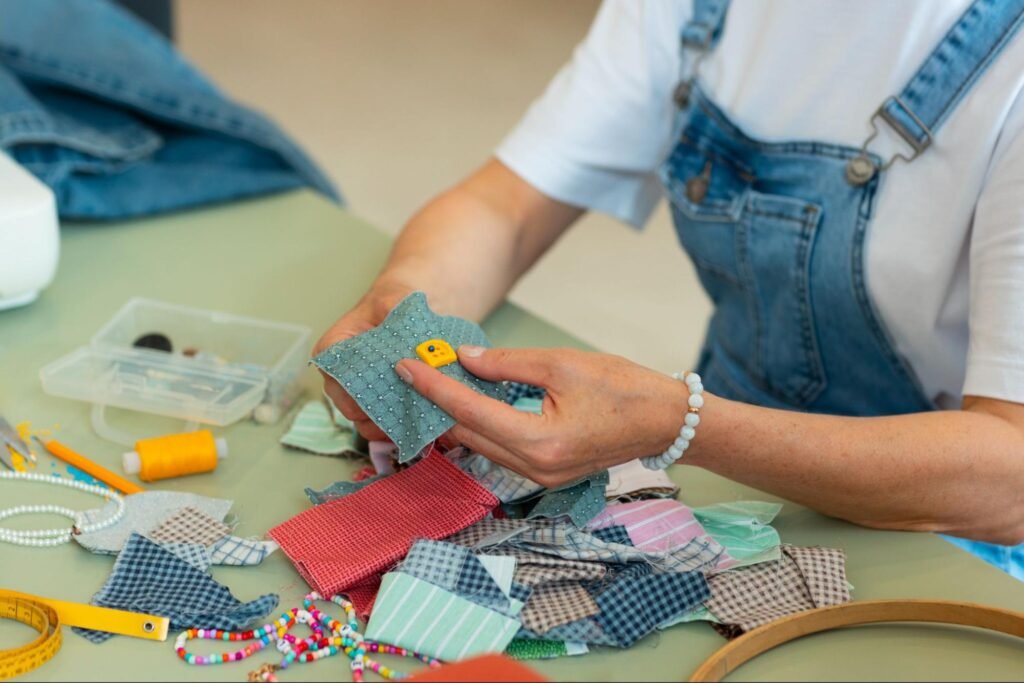
3. Pick your materials
High-quality patches start with the right materials. A fabric base like twill, felt, or polyester works well here.
I suggest you use strong polyester thread for embroidery or colorful threads for detailed designs.
You’ll need stabilizers to help fabric hold shape during stitching. Also, you might need transfer paper for printed patches.
For hats or structured items, you can pick stiffer fabrics so your patch keeps its shape and looks polished when attached.
4. Prepare the patch design for production
Before making the patch, prepare the design for production.
For embroidery, you can digitize your design into stitch data and adjust stitch density for smooth, durable results.
For printed patches, you can reverse the design for heat transfer and use high-resolution images.
Always start with a small test patch to check colors, size, and stitch quality. This ensures your full batch comes out perfectly.
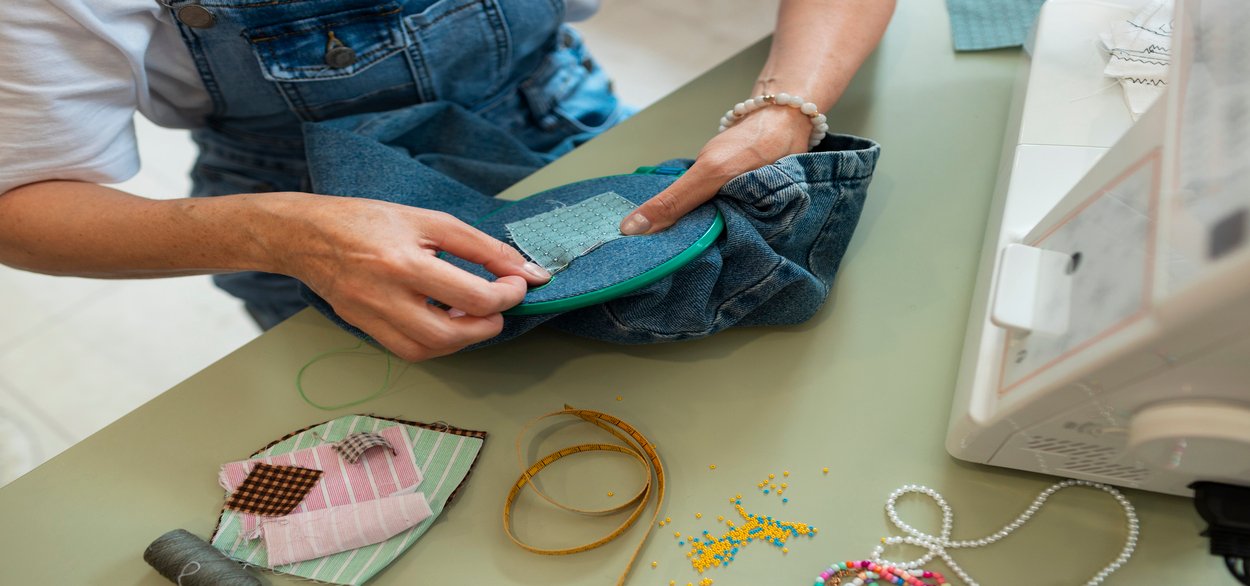
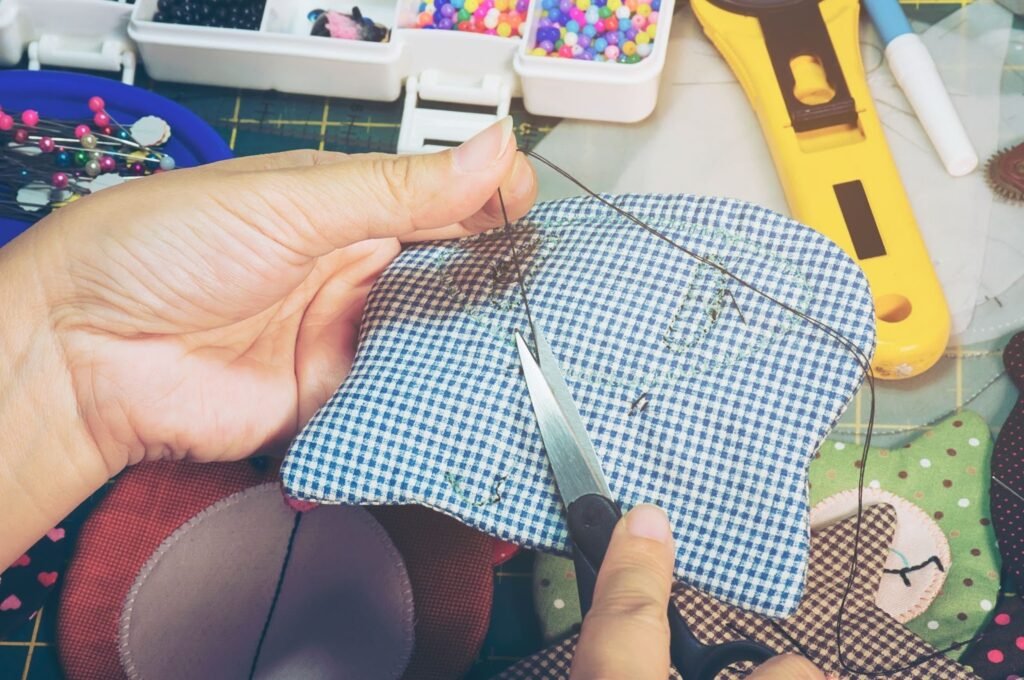
5. Embroider or print the patch
Now it’s time to bring your patch to life.
For embroidered patches, hoop your fabric, load the design into the machine, and let it stitch the pattern. Also, trim excess fabric afterward.
For printed patches, print the design on transfer paper or fabric, and then heat-press it onto your patch base.
Here, consistent heat and pressure are essential for smooth, even results. This step creates the finished patch design.
6. Add backing
Once your patch is ready, add the appropriate backing. Iron-on patches get heat-activated adhesive, velcro patches need a hook or loop strip sewn or glued, and sew-on patches can be left clean.
Backings make it easy to attach your patch to clothing, hats, bags, or other accessories, giving you the flexibility to wear, swap, or share your creation.
7. Apply the patch
Finally, attach your patch to your item.
Iron-on patches use a household iron or press, sew-on patches are stitched by hand or machine, and velcro patches stick on one side to patch and one side to fabric.
Adhesive patches are perfect for temporary use. And for hats or structured items, sewing or a heat press gives a smooth, polished finish.
In short, here’s how to make a custom patch:
| Step | What to Do | Tips / Best For |
| 1. Design Your Patch | Choose size, shape, colors, and create your design in software | Keep details simple; use templates if new |
| 2. Choose Patch Type & Backing | Pick embroidered, printed, or velcro; select iron-on, sew-on, or adhesive backing | Matching type to material ensures best results |
| 3. Pick Your Materials | Fabric base, thread, stabilizer, and transfer paper | Use stiffer fabrics for hats or structured items |
| 4. Prepare Design for Production | Digitize for embroidery or reverse for printing; test colors & size | Start with a small test patch |
| 5. Embroider or Print | Stitch design with machine or heat-press printed design | Keep heat and pressure consistent |
| 6. Add Backing | Apply adhesive, sew velcro, or leave sew-on clean | Ensures patch can be attached easily |
| 7. Apply the Patch | Attach using iron-on, sewing, velcro, or adhesive | For hats, sewing or heat press gives smooth finish |
Bonus: Here are the tools and supplies you’ll need to make a custom patch
| Supply | Purpose |
| Embroidery machine | For stitched designs |
| Heat press or iron | For heat-activated adhesives |
| Fabric (twill, felt, polyester) | Base for the patch |
| Thread | Embroidery stitching |
| Stabilizer | Keeps fabric firm during stitching |
| Transfer paper | For printed patches |
| Scissors / rotary cutter | Trim patch edges |
| Velcro strips | For removable patches |
| Templates / software | Design creation and digitization |
Here are some pro tips for professional-looking patches:
- Use high-contrast colors for clarity.
- Keep designs simple for embroidery.
- Test a small batch before mass production.
- Make edges smooth and reinforced to avoid fraying.
- Use heat-resistant tape for temporary placement during pressing.
Who should try making custom patches?
Custom patches aren’t just for pros, and just about anyone can make them. They’re perfect for personalizing gifts, creating merchandise, or adding flair to clothing and accessories.
So, whether you’re a hobbyist, small business owner, or beginner, making patches is a fun, creative, and rewarding way to bring your ideas to life.
All in all, here’s who should try making custom patches:
| Type of Person | Why They’ll Like It |
| Hobbyists | Fun way to personalize gifts, jackets, hats |
| Small businesses | Cost-effective merchandise, promotional items |
| Crafters | Experiment with embroidery and printed designs |
| Sports teams | Create uniforms, fan merchandise, or logos |
| Beginners | Easy to learn with templates and software |
We create high-quality custom letterman jackets for your school, team, business, or organization that leave a lasting impression.
Final words
Making custom patches is fun, creative, and practical. And it is for everyone from beginners to pros.
So be it embroidery, printed, or velcro patches, you can make designs that last, look professional, and truly reflect your style or brand.
In fact, whether you’re a hobbyist, small business owner, or sports team, creating custom patches is easier than you think.
Just get the right tools and materials, and follow this step-by-step process, and your designs can come to life beautifully.
Got more questions or want custom printed apparel for your brand or business?
You can get in touch with us!
At Five Star Apparel, we help you showcase your brand boldly and beautifully with custom apparel that captures the soul of your business.
FAQs about how to make custom patches
How do I make a custom patch at home?
Start with a design, choose fabric, decide on embroidered or printed style, and use a sewing machine or heat press to finish.
How to make custom patches for hats?
You can follow the above steps and use stiff fabric and embroidery or sew-on methods to make custom patches for hats.
What is the easiest way to make custom patches?
Iron-on patches are easiest for beginners, while embroidery gives professional durability.
How do velcro patches work?
Velcro patches have a hook-and-loop system. One side attaches to the patch, and the other side attaches to clothing or gear for easy removal.
Can I make full-color patches?
Yes!
Printed patches allow full-color designs, while embroidery is slightly limited by thread colors.
What materials work best for patches?
Twill, felt, or polyester fabric with sturdy backing works best. For removable patches, you can use velcro.
Can beginners make professional-looking patches?
Absolutely!
With templates, proper tools, and the above step-by-step guide, beginners can create patches that look polished and durable.
Anna Freeman is the owner of 5 Star Apparel. With over 20 years of industry experience, she brings expert insights on embroidery, screen printing, and branded apparel, helping businesses and organizations bring their ideas to life with confidence and style.