
How To Digitize For Embroidery In 4 Simple Steps

Written By
Anna Freeman
Are you new to embroidery and want to turn a logo, drawing, or image into embroidered material?
If yes, the first thing you’ll need to do is digitize your embroidery.
You see, embroidery making isn’t as simple as uploading a JPG or PNG file to an embroidery machine and expecting it to stitch the design.
You first need to convert your artwork into a digital embroidery file. This file tells the embroidery machine:
- Where to stitch
- Which embroidery stitch type to use
- How to arrange the stitches
- What order the different design components should be sewn into
This might sound confusing if you’re new to machine embroidery. But rest easy, as I have explained how to digitize for embroidery in four very simple steps.
You can follow these steps and digitize a logo even as a first-timer. So, let’s get started.
Key takeaways
- You need embroidery digitizing to convert artwork into stitch instructions that an embroidery machine can use.
- You should start with clean, simple artwork and remove unnecessary details before digitizing.
- Different parts of a design require different stitch types, like fill, satin, or running stitches.
- Stitch direction, density, underlay, and sewing order can make a big difference to the final result.
- Always preview and, ideally, test-stitch your design before using the final file on a garment.
What is embroidery digitizing?

To begin with, embroidery digitizing is the process of converting artwork into a stitch-ready embroidery design.
You see, a regular image tells you what an embroidery design will look like. But a digitized embroidery file is what tells the embroidery machine how to create that design with thread.
For instance, let’s say you have a company logo with a red circle, black lettering, and a blue symbol.
Now, the embroidery machine needs to turn each of these elements into stitch objects. And to do so, it needs to know where the stitches will go, which direction they should run, how dense they should be, and what order they will be sewn.
This is exactly what embroidery digitizing helps the machine do.
How to digitize for embroidery? 4 Simple steps you can follow

For starters, the exact tools you will need for digitizing embroidery work can be different depending on what embroidery software you use.
But regardless of the software, the basic workflow is pretty much the same. And it includes the following four steps:
Step #1. Prepare your artwork
Before you even open an embroidery software, you will need to prepare the artwork.
Here, you want the cleanest, highest-quality version of your logo or image. I suggest you use a vector file such as an AI, EPS, or SVG here because it helps you scale the artwork without losing clarity.
Now, a high-quality image isn’t the only important thing. You also need to decide which details from your artwork will actually work as embroidery.
Pro tip from an embroiderer: Never try to keep every tiny detail of your original artwork
Why?
That’s because what looks great on your computer screen might not look the same when turned into thread. And very small text, thin lines, tiny gaps, or intricate details can disappear once the design is embroidered.
So, the best embroidered logo isn’t the exact copy of your original artwork. Instead, it is a slightly simplified version that keeps the important parts of the design and removes details that won’t reproduce well in the logo.
Bonus: Before you start assigning stitches, you should know approximately how large the finished embroidery will be and where it will be placed.
Step #2. Choose your stitch types
Now that you have your artwork ready, you can turn those shapes into stitches. This is where you actually start digitizing your embroidery.
There are three basic stitch types that you will use for your embroidery designs, namely:
- Running stitch for lines, outlines, and small details.
- Satin stitch for lettering borders, and narrow shapes.
- Fill stitch for large shapes and solid areas.
For beginners, a running stitch is a line of individual stitches. And it works well when you want to create thin outlines or fine details without adding a lot of thread.
Satin stitch is different. It uses closely spaced stitches that run back and forth across a shape. This gives your embroidery a smooth and raised appearance and it is also why satin is so popular for 3D puff embroidery.
Then you have the fill stitch that is used to cover larger areas with thread. For a large shape, you can use a fill stitch to cover the area efficiently.
Pro tip: Don’t use one stitch type for everything
For instance, let’s say you’re digitizing a logo with large lettering and a large background shape. In this case, the lettering will work better with satin stitches and the background will go well with fill stitch.
Step #3. Set the stitch direction, density and underlay
Now comes the most important part of custom embroidery digitizing. Here, you need to tell the software how the stitches should be done. This includes things like stitch direction, density, underlay, and pull compensation.
Let’s start with stitch direction
Stitches don’t always run in the same direction throughout a design.
Changing the stitch angle between different elements helps define shapes, create visual contrast, and make the embroidery look more natural. Also, it affects how the fabric responds to the stitching.
Then there is stitch density
Stitch density controls how closely the stitches are packed together.
You see, more stitches don’t always create better embroidery. If you make the design too dense, you can end up with excessive thread, puckering, thread breaks, or a stiff embroidered area. Similarly, if the density is too low, the fabric under the embroidery will be visible.
That’s why you need to adjust stitch density according to the design, its size, and the fabric you’re using.
Next up is underlay
Underlay is the foundation under your main embroidery. These are stitches that are sewn before the top stitches. And they help stabilize the fabric and give the top layer something to sit on.
For instance, an edge-run or center-run underlay is useful under satin stitches, while fill stitches use different underlay patterns depending on the design and fabric.
Then comes pull compensation
When the embroidery machine puts hundreds or thousands of stitches into fabric, the thread and fabric can pull against each other. This can make shapes narrower or slightly distorted.
Pull compensation allows you to account for that movement when creating the design.
This can be difficult to understand until you actually see it happen on an embroidery machine. That’s because the design might look perfect on your computer screen and still come out slightly different once it is stitched.
Bonus: Before you choose stitches, figure out how large the finished embroidery will be
This is important because a logo that looks nice at 5 inches wide might not look equally good at 2 inches wide. So don’t digitize a logo without knowing where it will be embroidered and how large it will be.
Step #4. Set the sewing order, preview, and test your design
At this point, you have prepared the artwork, selected your stitches, and adjusted the important settings. Now you need to make sure the machine will actually sew the design properly.
Start with the stitch sequence
The embroidery machine doesn’t just look at the design and decide what to do. You need to decide the sequence in which the different elements are sewn. Here, the right stitch sequence can reduce unnecessary jumps, trims, thread changes, and movement between different areas of the design.
For instance, you might stitch a large background area first, followed by smaller details and lettering, and add outlines or finishing elements afterward.
Here, the exact stitch sequence will depend on your design.
Then preview your design
Once your sequence is set, you can preview the design in your embroidery software. This is where you can catch obvious problems before putting the design on a machine. You can look for things like:
- Unnecessary jumps or trims
- Incorrect stitch direction
- Gaps between design elements
- Overly dense areas
- Missing details
- Unwanted overlaps
- Excessive color changes
Finally, test stitch the design
This is the most important step when you are learning how to digitize for embroidery. And there’s a reason for that.
Your computer screen can’t entirely reproduce what will happen when thread, needle, backing, tension, fabric, and machine speed all come together.
So I suggest testing on a piece of fabric that is as close as possible to the actual garment you’re going to embroider.
Then look at the finished sample and see whether:
- The letters are clean
- There are gaps
- The fabric is puckering
- There are small details that are still visible
- The design looks balanced
If something doesn’t look right, go back into the digitizing software and make the adjustments.
How do I digitize a logo for embroidery?
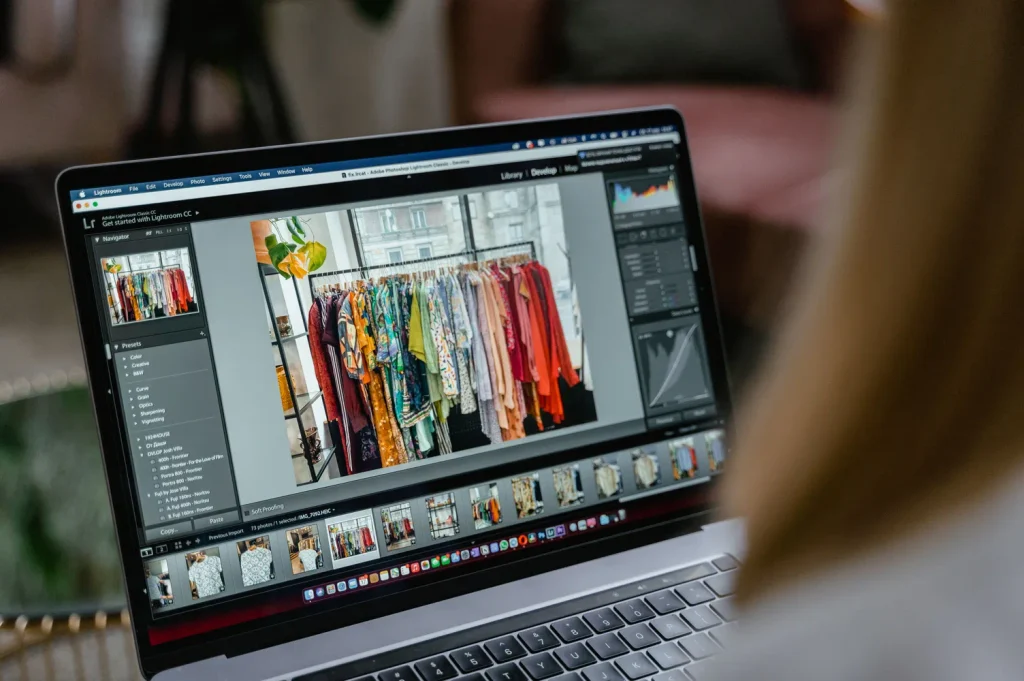
If you have a logo and you want to turn it into an embroidered design, you can follow the same 4-step process above.
Start with the cleanest version of your logo you have. Then decide how large you want the finished embroidery to be and where it will go. This is important because the same logo might need to be digitized differently for a small left-chest design, a jacket back, a hat, or a patch.
Next, break the logo into its individual elements. For instance, the lettering can use satin stitches, a large background shape can use a fill stitch, and a thin outline can use a running stitch.
Then set your stitch direction, density, underlay, and pull compensation according to the design and the fabric.
And finally, arrange the sewing order, preview the design, export it in the format your embroidery machine requires, and test stitch it.
Can you digitize embroidery designs yourself?
Yes, you can.
In fact, you can make your own embroidery designs from start to finish, including digitizing it.
There are several embroidery digitizing programs available today, including professional software and more accessible options for beginners. So, you don’t need to be an expert to do the basics of digitizing a logo for embroidery.
However, there’s a difference between custom embroidery digitizing as a hobby and consistently producing embroidery files that sew well.
You can follow a tutorial, import a logo, assign some stitches and export an embroidery file. The machine might even sew it.
But that doesn’t mean you’ve created a good production-ready design.
You need to understand how different fabrics react to embroidery, how stitch density affects garments, how underlay supports the design, how pull affects shapes, and more.
That’s why it is always better to rely on professional embroidery digitizing if your design is going on a large order of uniforms, jackets, hats, or other apparel.
Here’s when you should use professional embroidery digitizing:
- Your logo contains small text or fine details.
- The design needs to work at multiple sizes.
- You’re embroidering on difficult or stretchy fabric.
- You’re producing a large number of garments.
- You need consistent results across multiple production runs.
- You’re creating embroidery for hats, jackets, patches, or other specialized applications.
- You’ve tried digitizing the design yourself but aren’t happy with the results.
You might also want to read: Difference Between Cross Stitch Vs Needlepoint Vs Embroidery.
To sum it up
At this point, I am sure you have a decent idea about how do you digitize for embroidery.
The basic process is simple.
First, prepare your artwork. Then choose the right stitch types for each part of the design.
After that, adjust the stitch direction, density, underlay and compensation according to the design and fabric.
Finally, set the sewing sequence, preview the file, and test stitch it before production.
However, these four steps aren’t a substitute to professional embroidery digitizing, more so if you want to embroider in bulk.
Got more questions or want custom embroidered apparel?
You can get in touch with us!
At 5 Star Apparel, we can help turn your artwork into custom embroidery on your custom garments. Whether you’re creating custom varsity jackets, team apparel, uniforms, or other embroidered clothing, our seasoned team is here to help.
FAQs about how to digitize for embroidery
What is digitizing in embroidery?
Digitizing in embroidery is the process of converting artwork into a set of stitch instructions that an embroidery machine can understand.
The digitized file tells the machine things such as where to stitch, which stitch type to use, the stitch direction, density, color sequence and other production information.
How do I digitize for embroidery?
To digitize for embroidery, prepare your artwork, set the finished size, assign appropriate stitch types, adjust settings like density and underlay, arrange sewing sequence, and preview and test stitch design.
How to digitize an image for embroidery?
Start with the cleanest image possible and simplify details that may not reproduce well in thread.
Then determine the finished size and fabric, map different parts of the image to appropriate stitch types, adjust density and underlay, set the stitch sequence, and test the final design.
Here, a photograph or highly detailed image will need simplification before it can work well as embroidery.
What file do I need for embroidery?
The required file format depends on your embroidery machine.
Common machine formats include DST, PES, EXP and JEF. However, the file extension alone doesn’t determine whether the embroidery will look good. The underlying stitch construction is what is important here.
Is embroidery digitizing the same as converting an image?
No.
Converting or tracing an image doesn’t create good embroidery.
Digitizing requires decisions about stitch type, stitch direction, density, underlay, compensation, sequencing and the way the design will interact with the fabric.
That’s why simply converting a JPG or PNG into an embroidery format will not guarantee a good sew-out.
Anna Freeman is the owner of 5 Star Apparel. With over 20 years of industry experience, she brings expert insights on embroidery, screen printing, and branded apparel, helping businesses and organizations bring their ideas to life with confidence and style.