
A Beginner’s Guide On How to Make Your Own Embroidery Designs

Written By
Anna Freeman
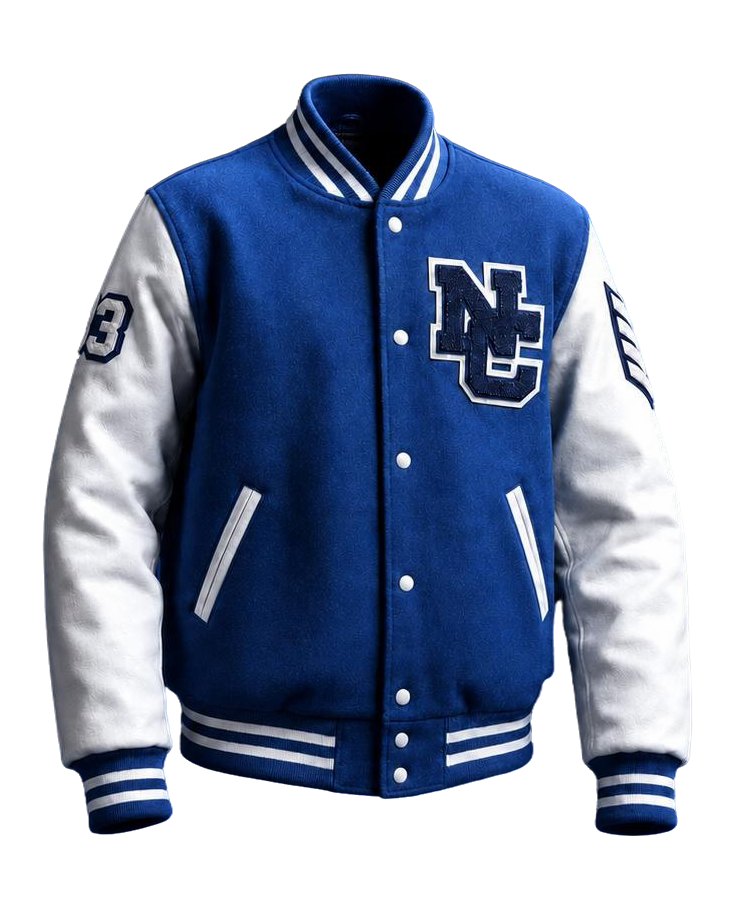
If you are someone who likes embroidered apparel, I am sure you’d have wanted to create a custom embroidered jacket, hat, or patch at some point.
And it isn’t just you, as a lot of embroidery enthusiasts think about creating something by themselves.
However, the idea that custom embroidery is complicated and requires professional-grade training and equipment stops people from trying it out.
But what if I told you that you can design your own embroidery?
Yes, that’s right!
Learning how to make your own embroidery designs is not as complicated as it looks at first. In fact, once you understand the basics, it becomes a very creative and enjoyable process.
In this blog, I will walk you through exactly how to do that in a simple, beginner-friendly way. You’ll know:
- How embroidery designs are created from scratch
- What tools you need to design your own embroidery
- What software beginners can use
- Step-by-step process to create your own embroidery design
- Common mistakes to avoid
So, let’s get started.
Key takeaways
- Embroidery design starts with a simple idea or sketch
- Designs need to be digitized before machines can read them
- Different stitch types affect how your final design looks
- You can use software like Hatch, Wilcom, or even free tools to start
- File formats like DST, PES, and EXP are used for embroidery machines
- Simple designs work best when you first start to design your own embroidery
- Testing your design is just as important as creating it
Before you start designing embroidery here’s what you need:
| Tool / Requirement | Purpose |
| Design idea or sketch | Your starting point |
| Computer or laptop | To run design software |
| Embroidery software | To convert designs into stitch files |
| Embroidery machine | To test final design |
| Basic understanding of stitch types | Helps improve design quality |
Note: You don’t need everything on day one. You can even start with just software and simple sketches.
How does embroidery designing actually work?
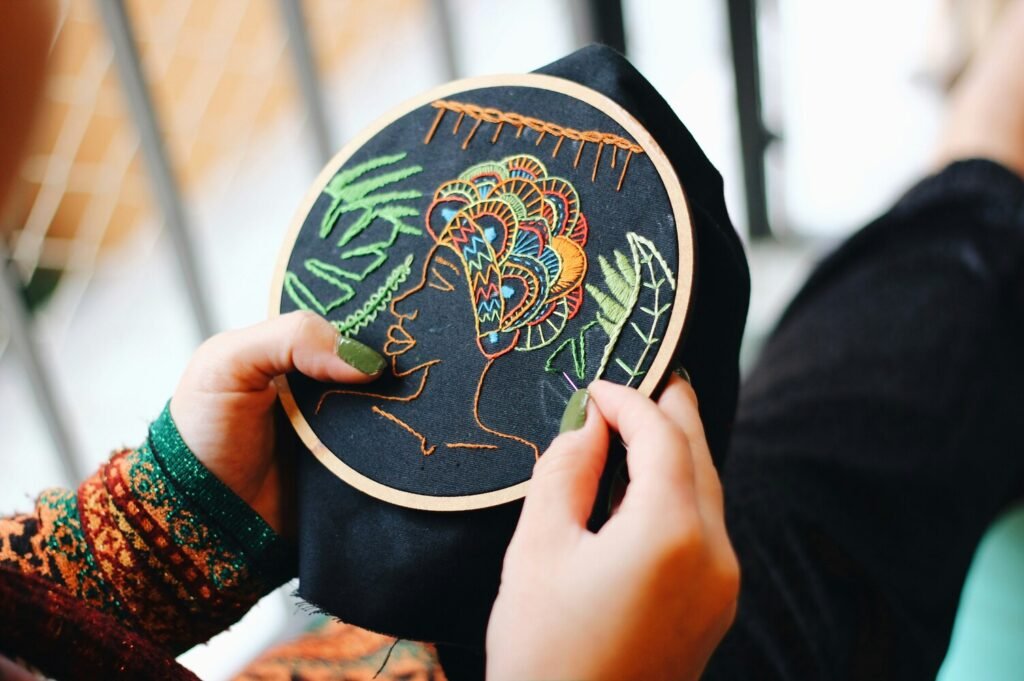
An embroidery design is made up of different stitch types, such as:
- Satin stitches (for outlines and text)
- Fill stitches (for large areas)
- Running stitches (for fine details)
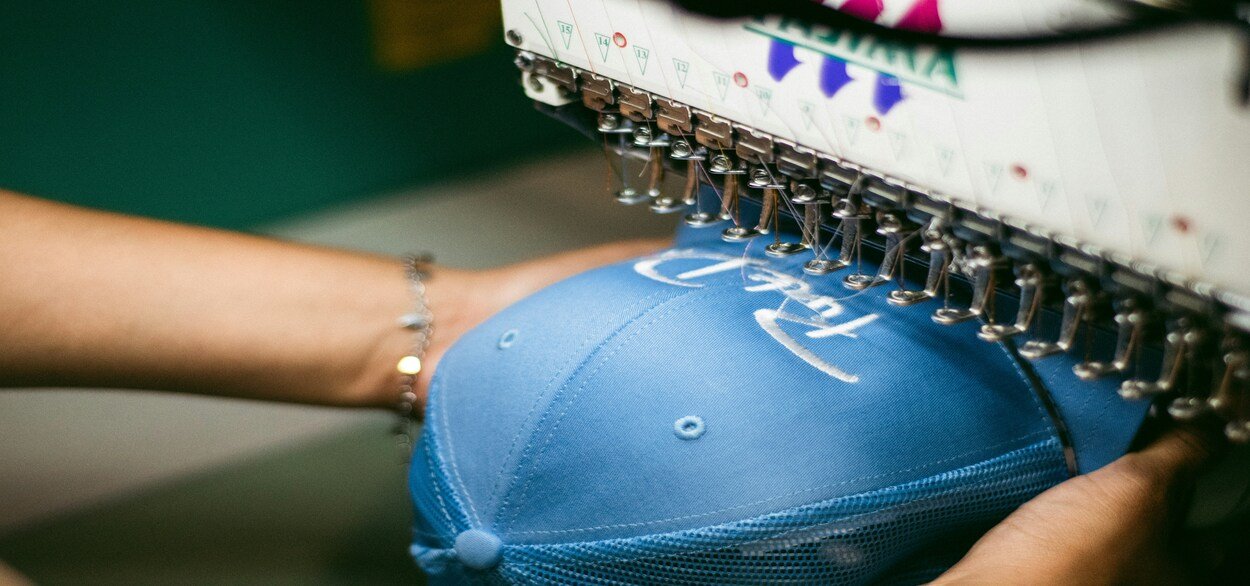
And these are all done on an embroidery machine. So, instead of drawing the design, you’re actually planning how stitches will move.
Also, embroidery machines don’t understand images like we do. They only follow instructions like:
- Stitch
- Move
- Change thread color
- Repeat pattern
This is why you’ll also need to digitize your design before moving ahead with embroidering it.
Now, I know this sounds very technical. But rest easy, as I’ve explained everything in detail in the further sections.
From embroidery to screen printing and custom patches, we help you create high-quality custom apparel that stands out.
Here are the different types of embroidery designs you can create:
| Type of Design | Description | Best For |
| Logo embroidery | Clean, simple branding designs | Businesses, uniforms |
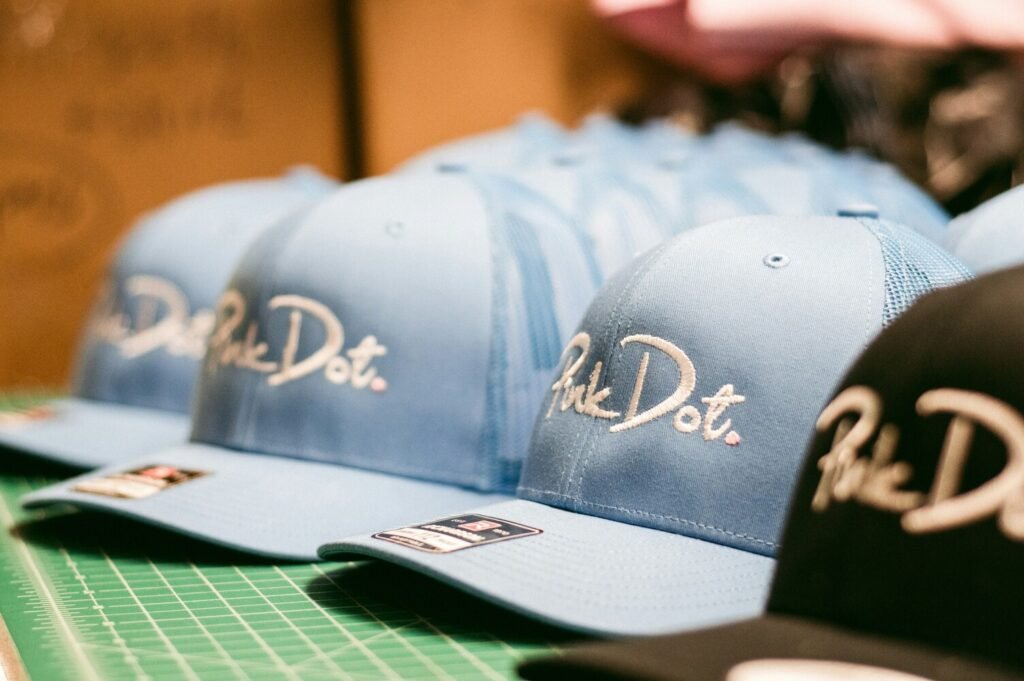
| Text embroidery | Words or quotes | Hats, jackets |
| Decorative designs | Flowers, patterns, art | Fashion items |
| Patch designs | Standalone embroidered patches | Branding, merch |
| Monogram designs | Initial-based designs | Personal use |
How to make your own embroidery designs? Step-by-step guide
Now that you understand the basics and types of embroidery designs, let me walk through how to make your own embroidery designs in a simple way.
You see, the embroidery process is not just about creativity, it also involves a structure. But once you follow the right steps, everything becomes much easier to manage.
So let me break it down step by step.
Step 1. Start with a simple design idea
Every embroidery design starts with a simple idea. It can be just about anything, such as a logo, name or text, shape or symbol, or a simple illustration.
Now here’s something important to know: When you design your own embroidery, simpler is always better in the beginning.
That’s because too many small details can get lost when stitched. So instead of complex artwork, start with clean and bold designs like a bold letter, a simple flower outline, or a basic brand logo.
This helps you learn how stitches behave without getting overwhelmed.
Step 2. Sketch or create your digital design
Once you have an idea about what you’re going to stitch, you need to turn it into a visual design.
You can do this in two ways:
- Draw it by hand
- Create it using design software
A lot of beginners start with paper sketches first, then move to digital tools. But you can also directly use tools like Adobe Illustrator, CorelDRAW or Canva to build a clean version of your idea.
At this stage, you’re not digitizing yet, you’re just building the artwork.
Step 3. Import your design into embroidery software
Now comes the most important step in how to create your own embroidery design, digitizing.
Here, you can take your image and import it into embroidery software.
You can use popular software tools like:
- Wilcom
- Hatch Embroidery
- Brother PE-Design
This is where your image starts becoming stitch-ready.
Step 4. Digitize your design
This is the core of the entire process.
Digitizing simply means you are telling the machine how to stitch your design. Here, you decide:
- What areas use fill stitches
- What outlines use satin stitches
- What fine details use running stitches
For instance:
- A thick letter uses satin stitch
- A big shape uses fill stitch
- A thin outline uses running stitch
This is where your design truly comes alive. And honestly, this step takes a bit of practice, but it’s also where you get most of the creative control.
Step 5. Adjust stitch settings
Once your stitches are mapped out, you need to fine-tune the design. This includes:
- Stitch density (how close stitches are)
- Stitch direction
- Underlay (base stitching for stability)
- Pull compensation (to prevent distortion)
Now don’t worry, you don’t need to master everything immediately. But understanding this helps you make cleaner, more professional embroidery designs over time.
Step 6. Choose thread colors
This is the time to bring color into your design. Your embroidery software will let you assign embroidery thread types and colors to each section.
This step is important because:
- Colors affect visibility
- Contrast affects clarity
- Fabric choice affects final look
Here’s a simple rule you can follow: High contrast = better embroidery visibility.
So if your fabric is dark, use lighter thread colors and vice versa.
Step 7. Save your embroidery file format
Now your design is almost ready. But embroidery machines cannot read normal image files.
You need to save your design in machine-readable formats like DST, PES, EXP, or JEF. Each machine uses different formats, so it’s important to check compatibility.
This step completes the technical part of how to make your own embroidery designs.
Step 8. Test your design on fabric
Before final production, I suggest you always test your design.
Why?
That’s because things like stitch density, thread tension, and fabric type can affect the final output.
So, a test run helps you fix misaligned stitches, spacing issues, thread breaks, and design distortion. You can think of it like a draft before final printing.
In short, here’s how to create your own embroidery design:
| Step | What You Do |
| Create idea | Start with a simple design |
| Draw/design | Make it visually clear |
| Import file | Load into embroidery software |
| Digitize | Assign stitch types |
| Adjust settings | Refine stitch quality |
| Add colors | Choose thread shades |
| Save file | Export in machine format |
| Test design | Run sample embroidery |
Bonus: Here are some common mistakes to avoid when making embroidery designs
- Using too many small details
- Ignoring stitch density
- Not testing designs before production
- Choosing low-contrast colors
- Overcomplicating first designs
What are the best tools and software to make your own embroidery designs?
When it comes to making your own embroidery designs, having the right tools makes the process much smoother.
You don’t need the most expensive setup right away. But the right software can make a big difference in how easily you learn.
Here are some common tools you can rely on:
| Tool / Software | What It’s Used For | Best For |
| Wilcom | Professional digitizing and stitch control | Advanced users |
| Hatch Embroidery | Beginner-friendly digitizing software | Beginners to intermediate |
| Brother PE-Design | Home embroidery machines | Hobby users |
| Bernina ArtLink | Free basic editing tool | Beginners |
| Adobe Illustrator | Creating clean artwork before digitizing | Design phase |
Pro tips to design your own embroidery like an expert:
1. Keep designs simple: Simple designs stitch better and look cleaner on fabric. Too many details often get lost.
2. Think in stitches, not images: Instead of thinking, what does this look like as a picture, think how will this look as stitches on fabric. This helps you design more realistic embroidery files.
3. Use bold shapes and clean edges: Thin lines can break or look uneven when stitched. Bold shapes always perform better.
4. Always test your design: Even experienced designers test before final production. That’s because small adjustments can make a big difference.
5. Match design with fabric type: Not all designs work on all fabrics. For instance, while thick designs work better on jackets, lightweight designs work better on caps or shirts.
From embroidery to screen printing and custom patches, we help you create high-quality custom apparel that stands out.
Final words
As you can see, learning how to make your own embroidery designs is really about combining creativity with a bit of technical understanding.
At first, it might feel like a lot. After all, there’s designing, digitizing, stitching, testing.
But once you understand the process, it becomes a very enjoyable skill.
So whether you’re trying to design your own embroidery for personal projects, branding, or business use, the idea is simple: Start small, practice consistently, and improve step by step.
Got more questions or need custom apparel printing in Shingle Springs?
You can get in touch with us!
At Five Star Apparel, we are seasoned custom embroidery and screen printing experts with decades of local expertise. And we’ve got all your embroidery needs covered on a budget.
FAQs about how to make your own embroidery designs
How do you make your own embroidery designs?
You start by creating a simple design, then use embroidery software to digitize it into stitch files that a machine can read.
How to create your own embroidery design?
You can create your own embroidery design by sketching or digitally designing an image, then converting it into stitch formats like DST or PES using software.
Can beginners make their own embroidery designs?
Yes, beginners can easily learn how to make their own embroidery designs using simple software and basic shapes before moving to complex designs.
What is the easiest way to design your own embroidery?
The easiest way is to start with simple shapes or text and use beginner-friendly software like Hatch Embroidery or free tools like Bernina ArtLink.
Do I need expensive software to make embroidery designs?
No, beginners can start with free or low-cost software before upgrading to professional tools like Wilcom.
What file formats are used in embroidery design?
Common formats include DST, PES, EXP, and JEF, depending on the embroidery machine.
How long does it take to learn embroidery design?
Basic embroidery design can be learned in a few weeks with practice, but mastering digitizing takes more time and experience.
Anna Freeman is the owner of 5 Star Apparel. With over 20 years of industry experience, she brings expert insights on embroidery, screen printing, and branded apparel, helping businesses and organizations bring their ideas to life with confidence and style.